Bootstrap Checkbox Label
Intro
From time to time the easiest aspects might get extremely vital-- specifically as you get to need them. As an example just how do your visitors communicate with the webpages you create specifying a simple Boolean action-- simply yes or no pertaining to a number of the questions you have to request, just how they do consent to the conditions and terms or maybe line up a handful of the practical choices they might have. We often get past this with no paying much of an consideration to the element chargeable for these sorts of activities however the Bootstrap Checkbox Example is actually a quite critical component-- one our forms cannot really do without.
In the most recent fourth version of the Bootstrap framework we are provided with the
.form-check.form-check-label<div>.form-check.form-check-label<label><input>.form-check-inputHow you can employ the Bootstrap checkbox:
Bootstrap's
.button<label>data-toggle=" buttons".btn-group
<div class="btn-group" data-toggle="buttons">
  <label class="btn btn-primary active">
    <input type="checkbox" checked autocomplete="off"> Checkbox 1 (pre-checked)
  </label>
  <label class="btn btn-primary">
    <input type="checkbox" autocomplete="off"> Checkbox 2
  </label>
  <label class="btn btn-primary">
    <input type="checkbox" autocomplete="off"> Checkbox 3
  </label>
</div>
Sometimes we really need the checkboxes to arrive in our forms without the site visitor truly having the ability to get any type of action selecting them-- that is generally where exactly the disabled option appears.
To disable effectively a checkbox in Bootstrap 4 applying the basic HTML attribute
disabledOn the occasion that you really like the concept and actually would like to accomplish this you should specify the
.disabled.form-checkOne more example
When utilizing checkboxes, wrap them in a
<label>.custom-control.custom-checkboxOperate
.custom-control-input<input>As well put into action two
<span>.custom-control-indicator.custom-control-description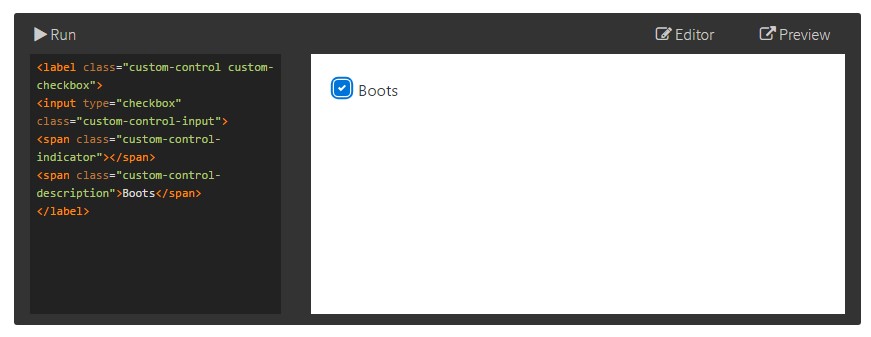
<label class="custom-control custom-checkbox">
<input type="checkbox" class="custom-control-input">
<span class="custom-control-indicator"></span>
<span class="custom-control-description">Boots</span>
</label>
Bootstrap Checkbox Field forms
Default checkboxes and radios are improved upon with the assistance of
.form-checkThe disabled class will also lighten the message color to help signify the input's state.
A new aspect for the Bootstrap edition 4 framework is the initiation of the so called custom-made form features. These are the same features we are familiar with in usefulness although designated way more pleasing and also with the Bootstrap means. By using them you can absolutely add in certain taste as well as individuality to your information through simply assigning a couple of supplemental classes to the commands you involve in your forms.
If you want to utilize custom-made checkboxes wrap them inside a
<label>.custom-control.custom-checkbox<input>.custom-control-input<span>.custom-control-indicator.custom-control-descriptionFinal thoughts
That's nearly everything you require to complete in order to bring in a checkbox component inside of your Bootstrap 4 powered web pages and incorporate certain customized flavor to it adding in it a quality appeals. And now everything you have to do is repeat the practice until you've examined all the checkboxes desired are currently on the webpage.
Review several video tutorials regarding Bootstrap checkbox
Linked topics:
Bootstrap checkbox approved records

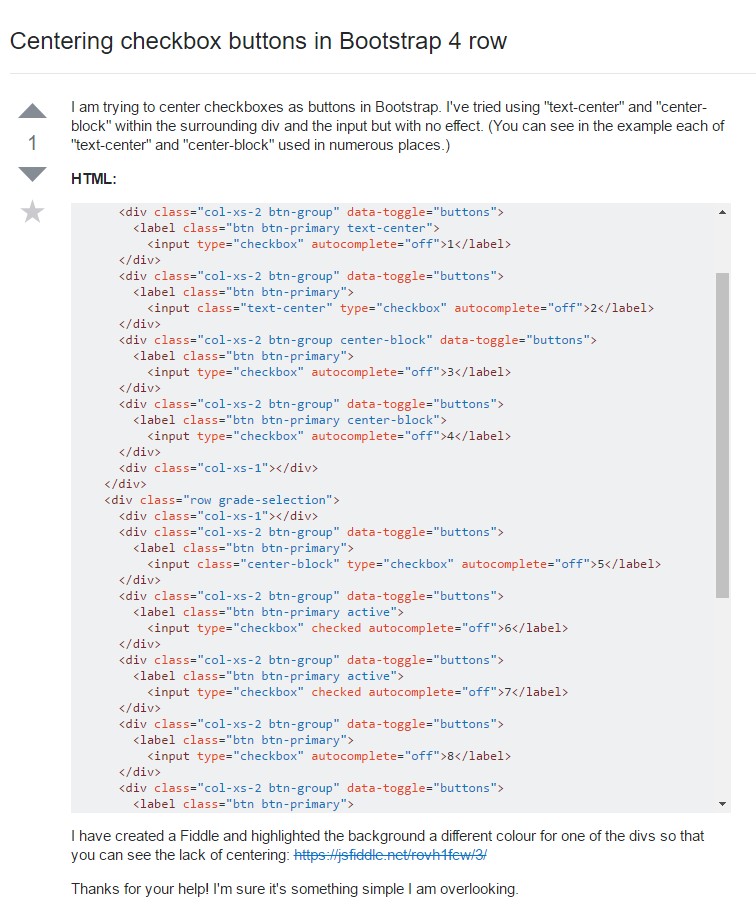
Centering checkbox buttons in Bootstrap 4 row
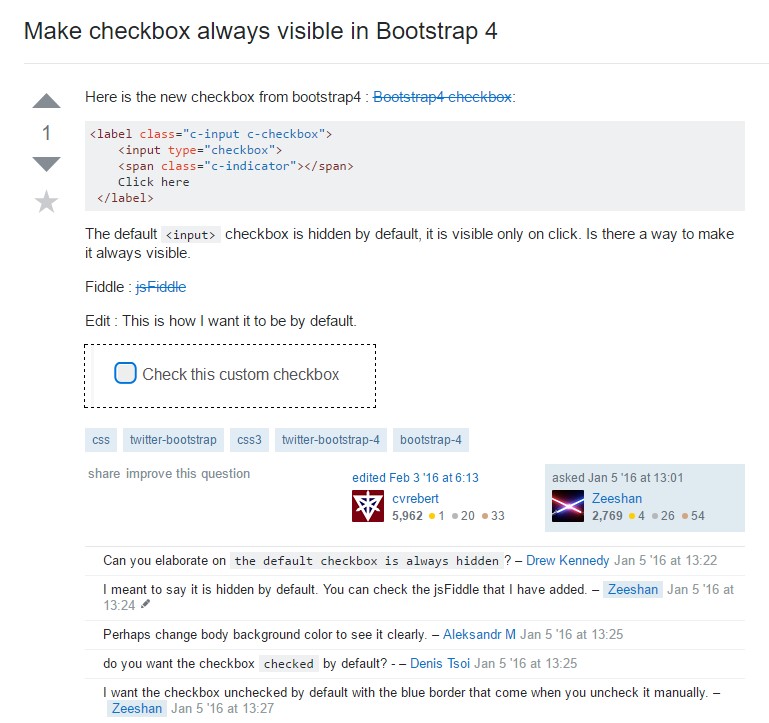
Make checkbox always visible in Bootstrap 4